BRANDING PLAYBOOK
The Deliver Magic Branding Playbook is designed to help you create a compelling, valuable, high-quality and genuine image portfolio that showcases who your client is, who they serve, and the problems they solve. Through a strategic, creative and intentional approach, you’ll help them tell a story that connects, builds credibility and trust with their audience over time.
What’s in the image content portfolios?
Every branding session is tailored to reflect the client’s unique personality, expertise, and services. Here’s a look at the types of images typically created for experts who speak, train, coach, consult and write books:

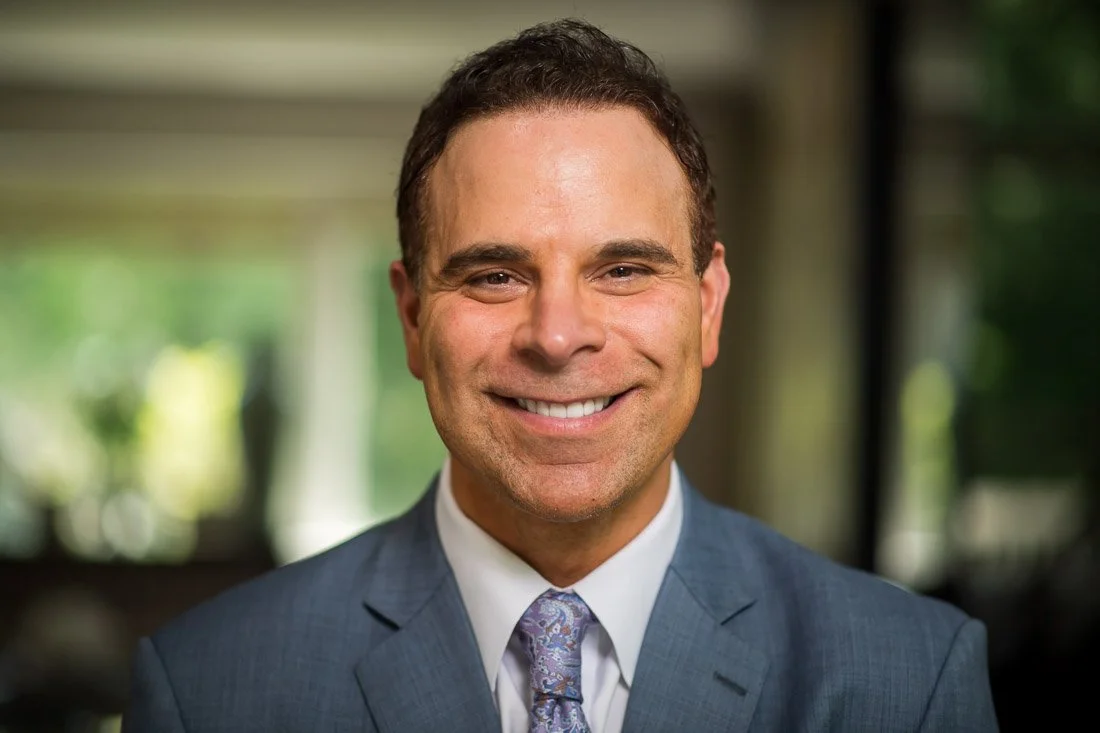

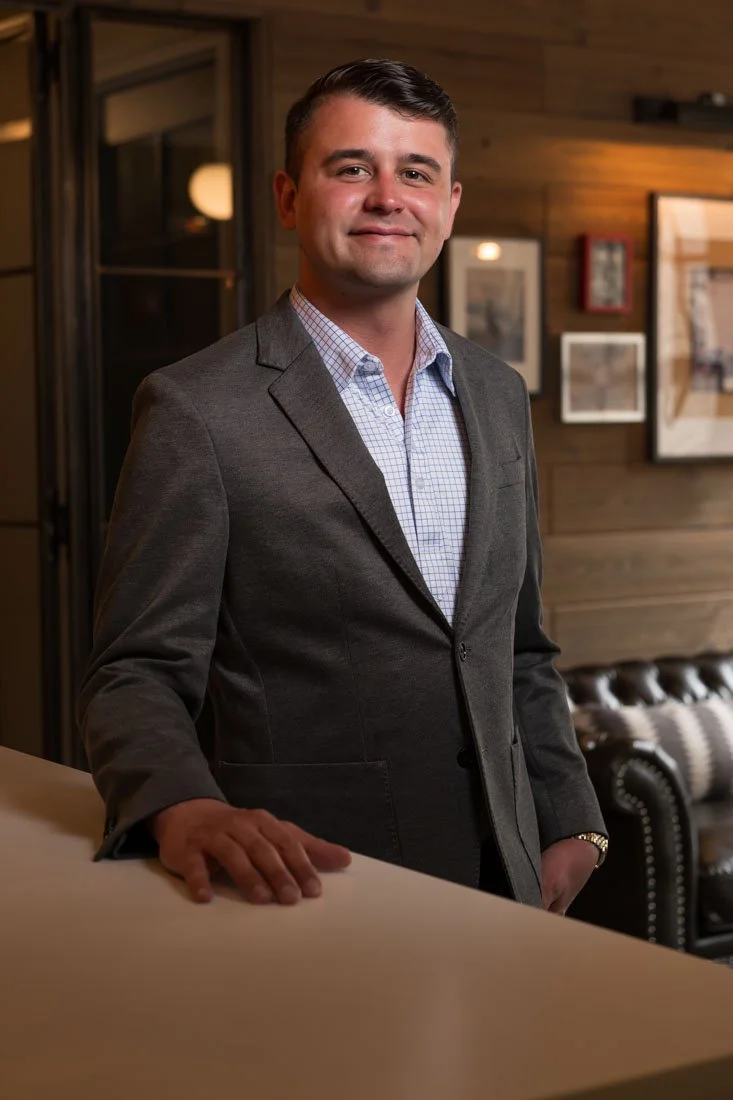
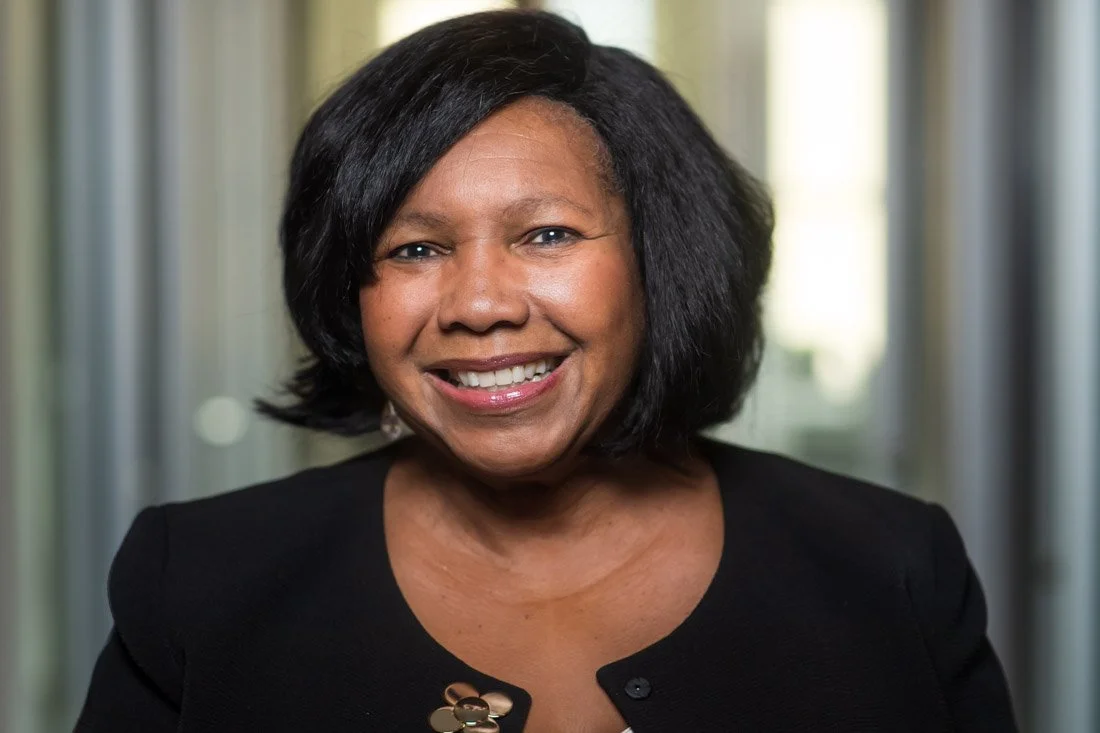


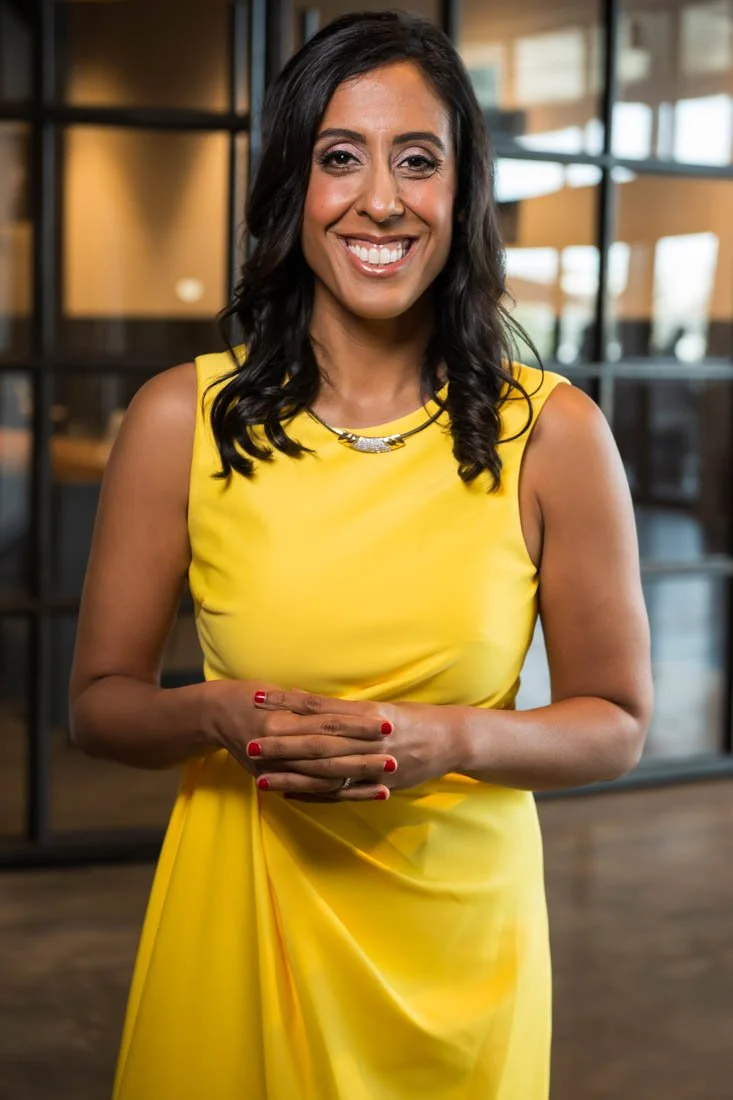
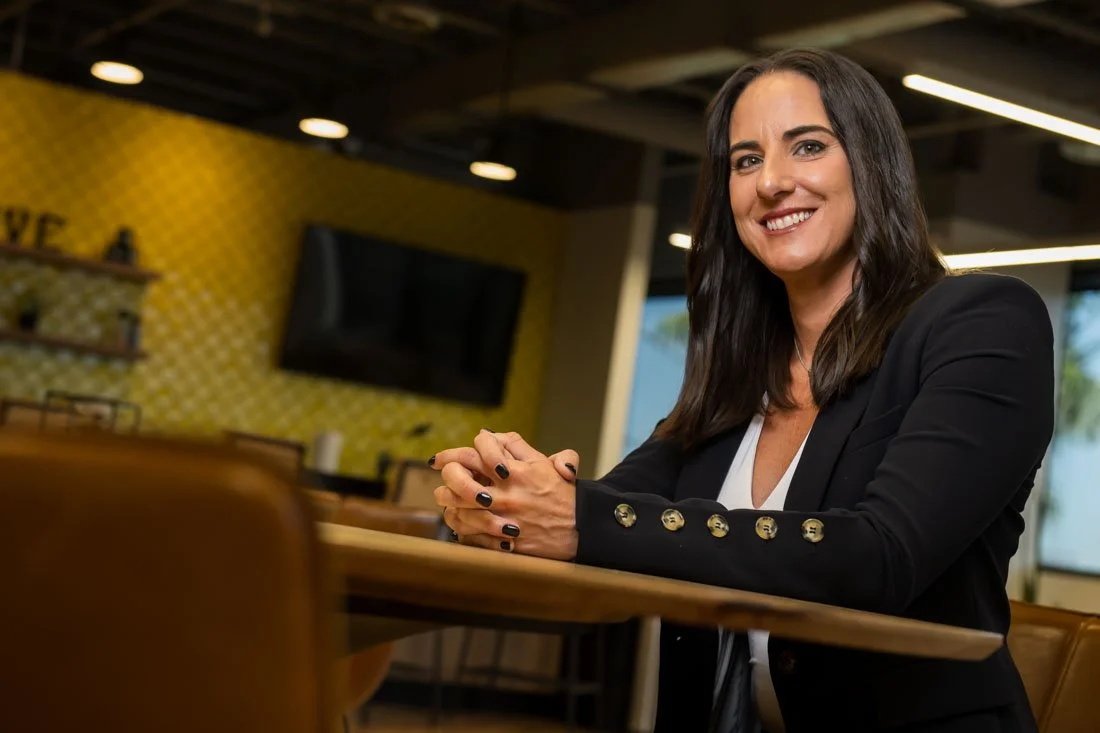
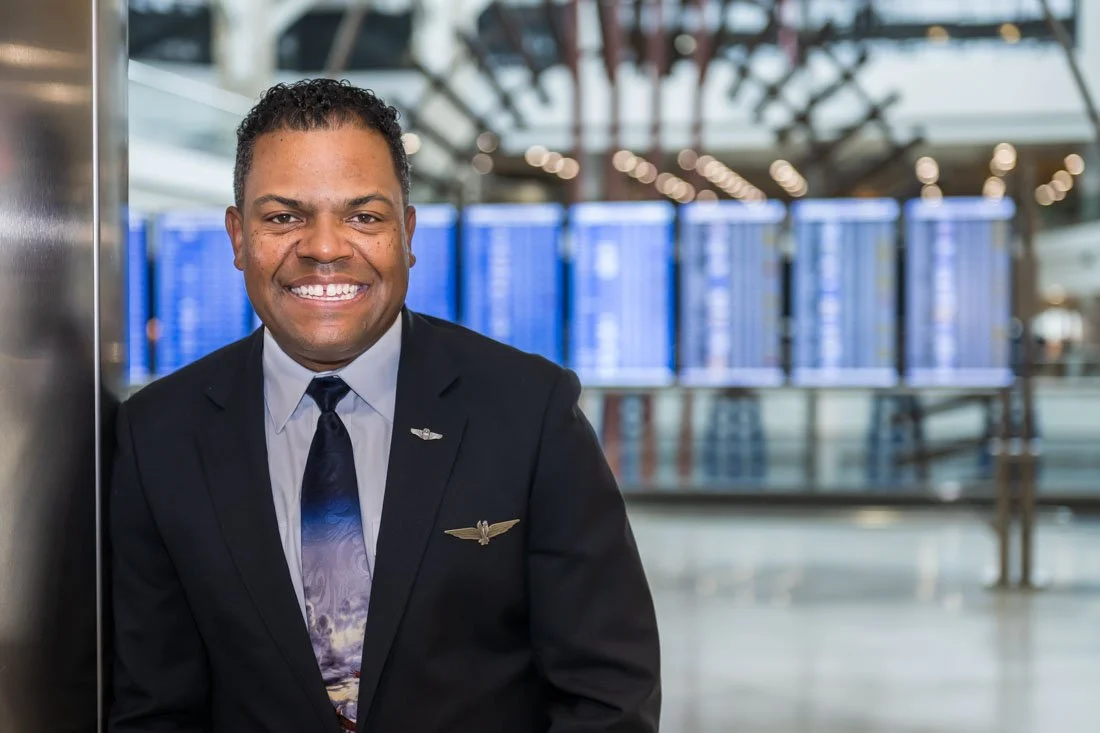
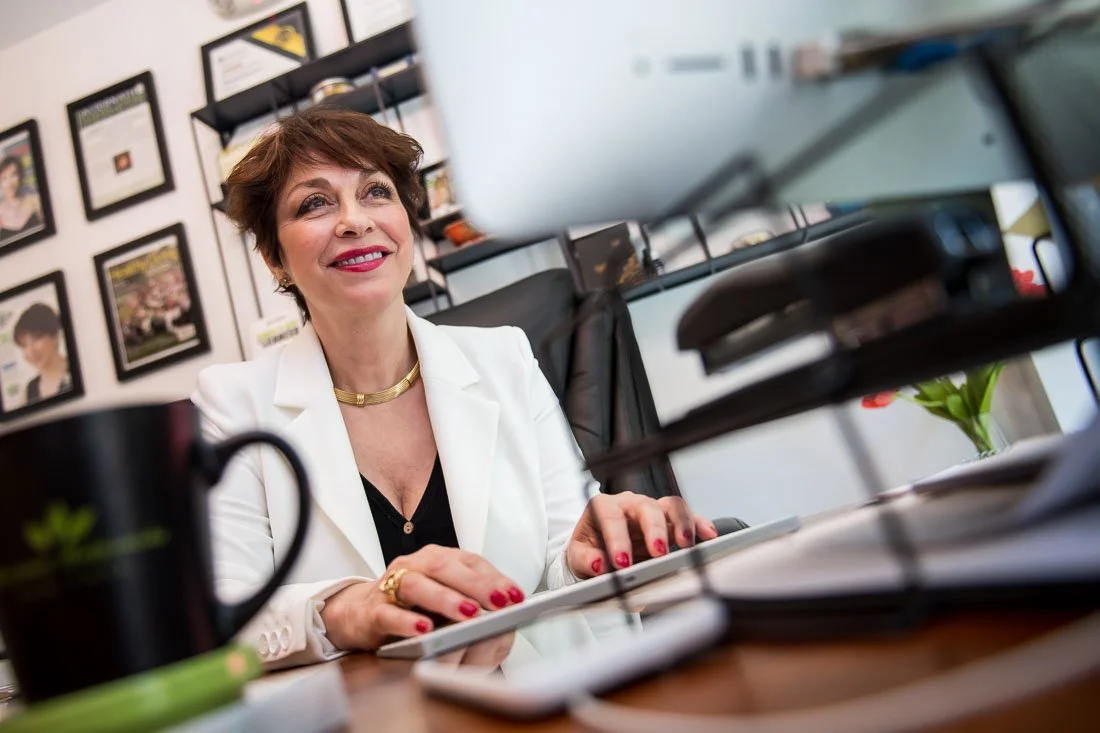
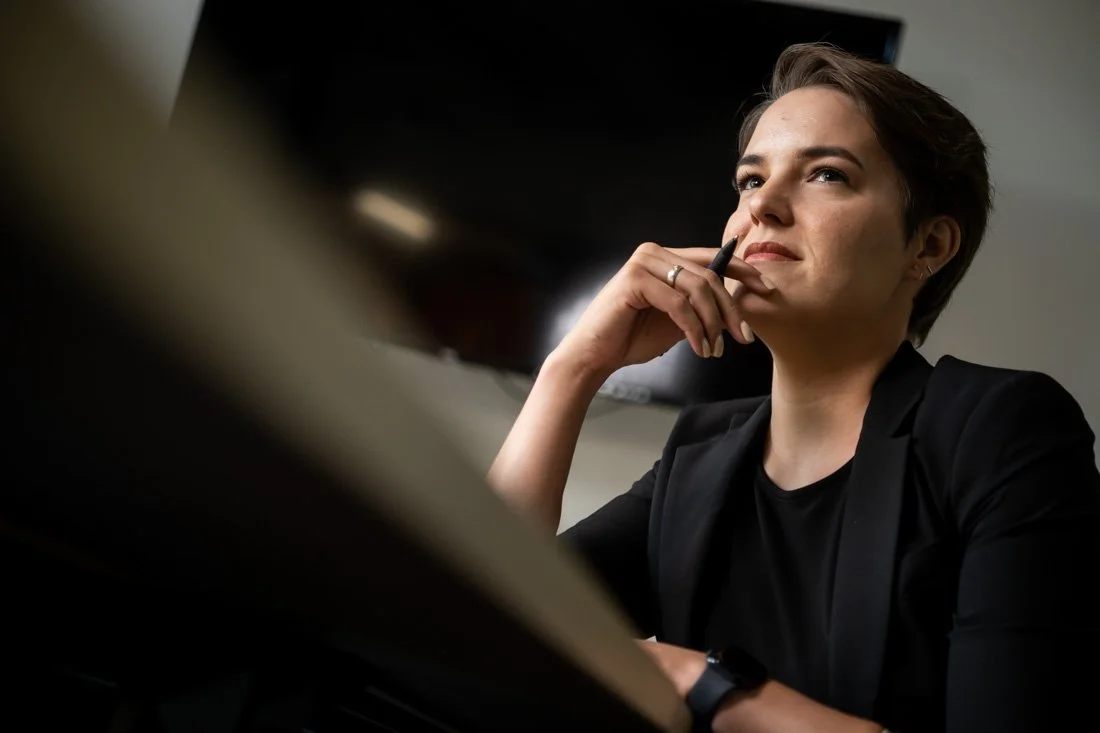
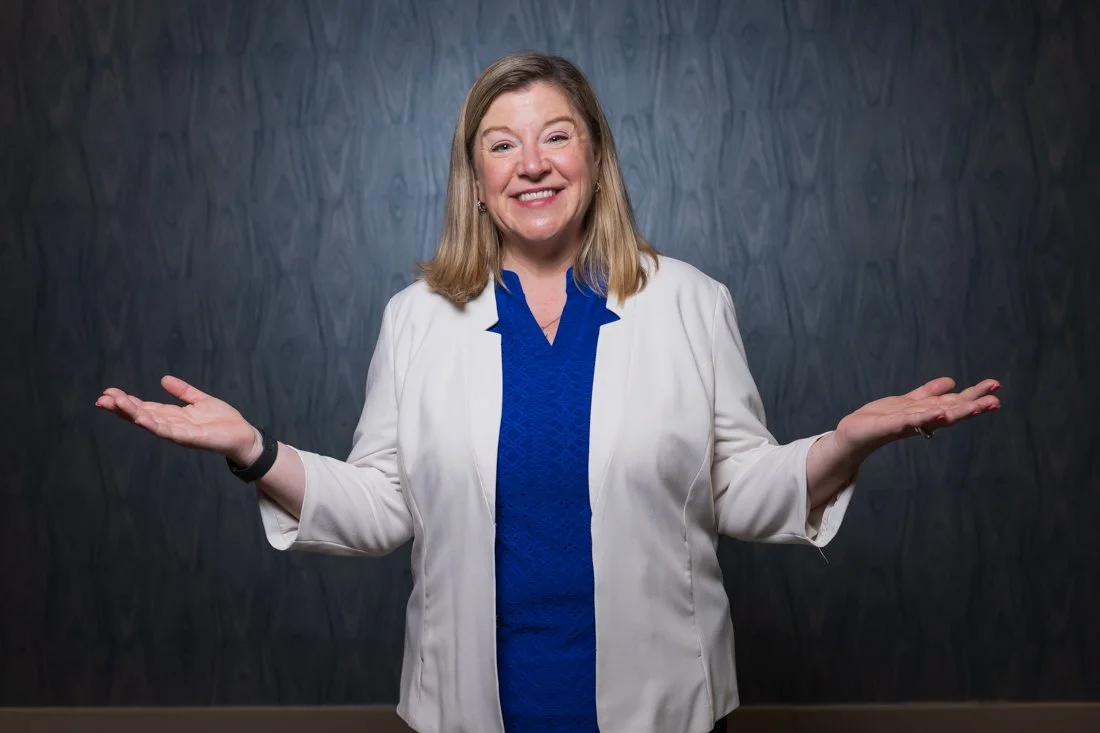
PROMOTIONAL PHOTOS
Promotional photos are essential, versatile assets that the client will use across their marketing and branding materials. These high-quality headshots and wider portraits need to reflect the client’s personality and professional presence, making them ideal for various platforms, from websites and social media profiles to press kits and printed materials.
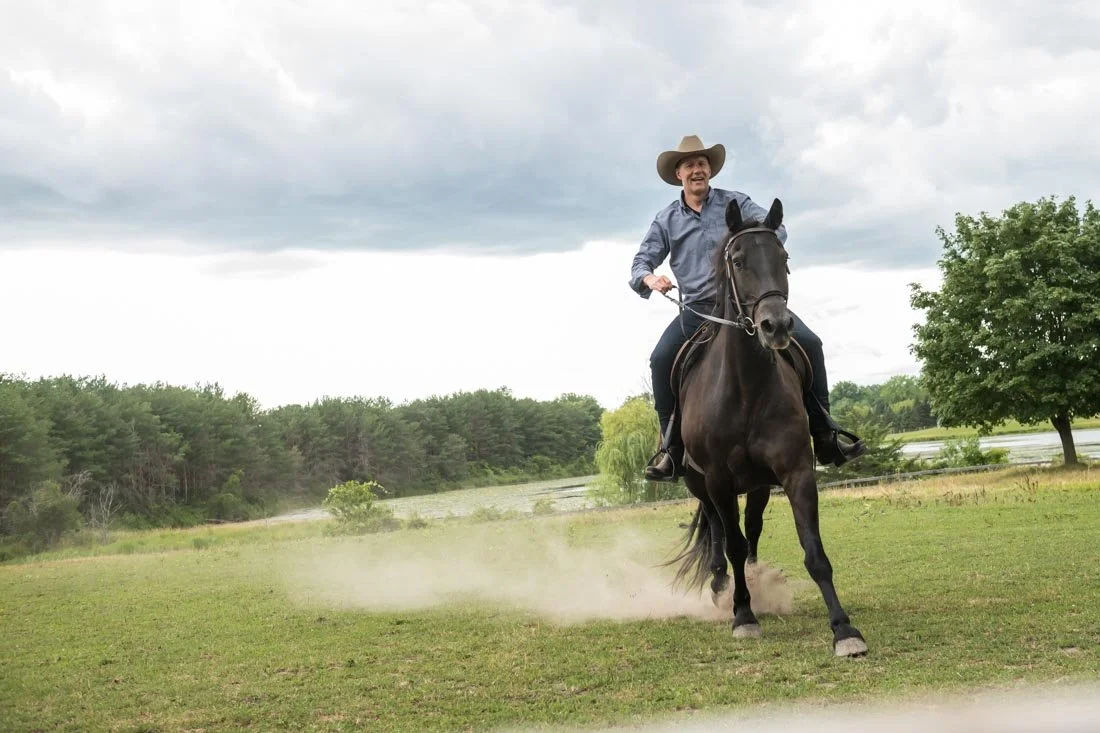

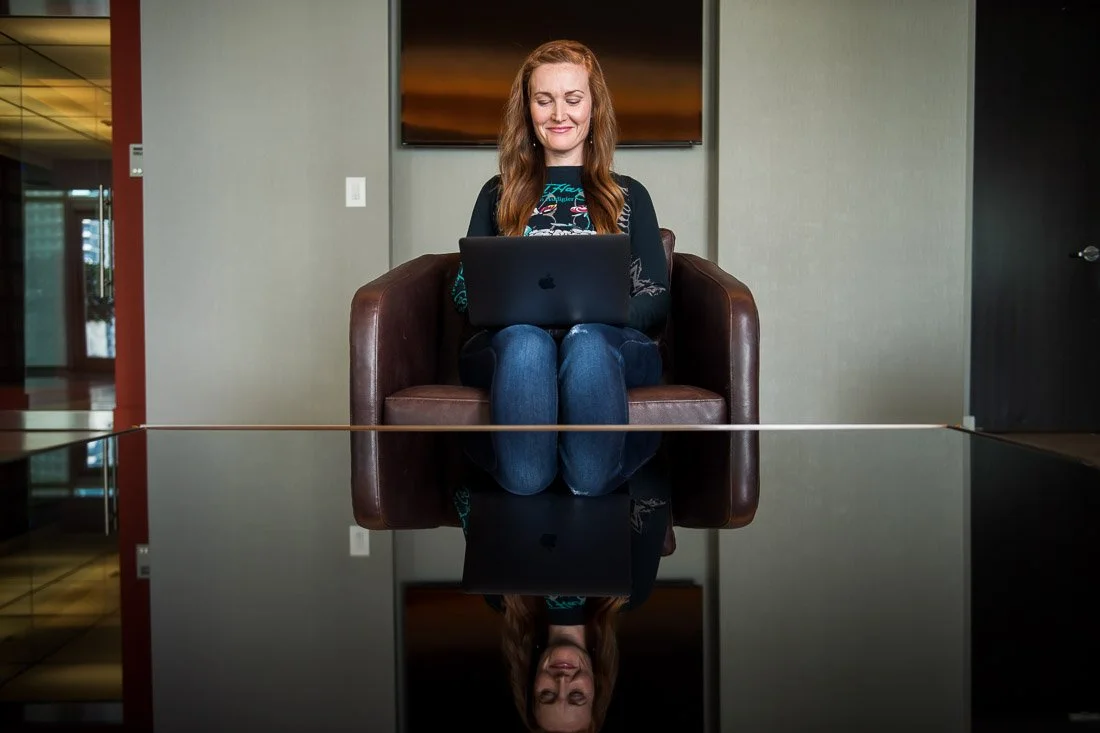
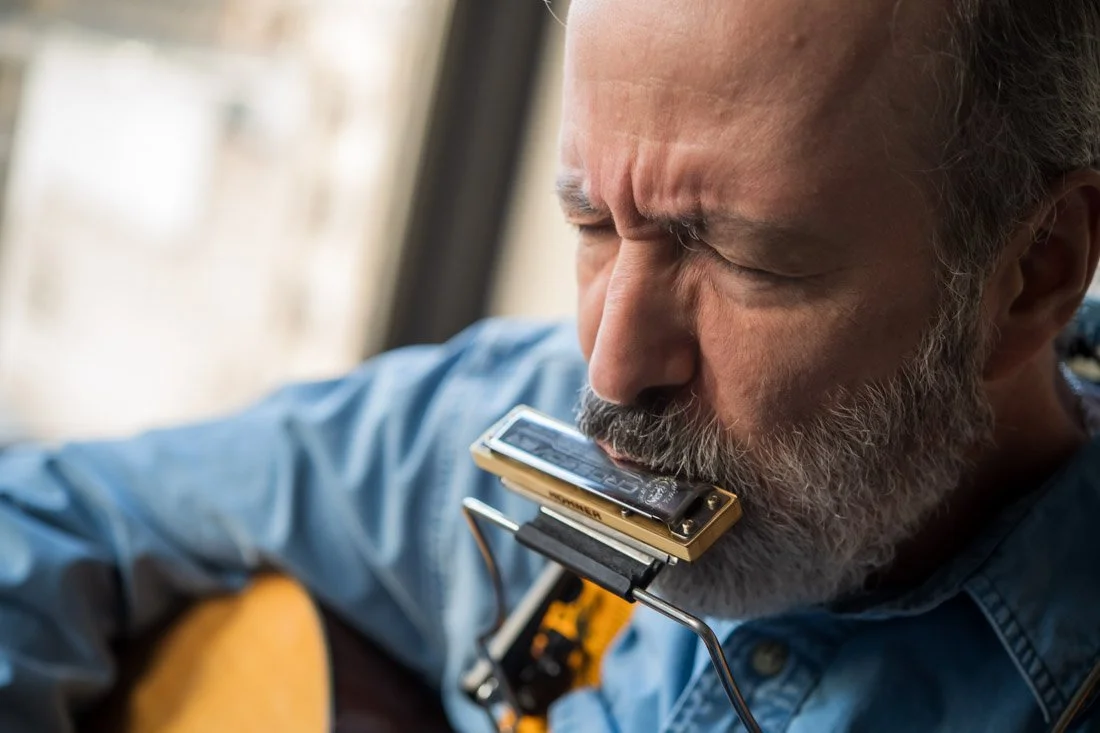
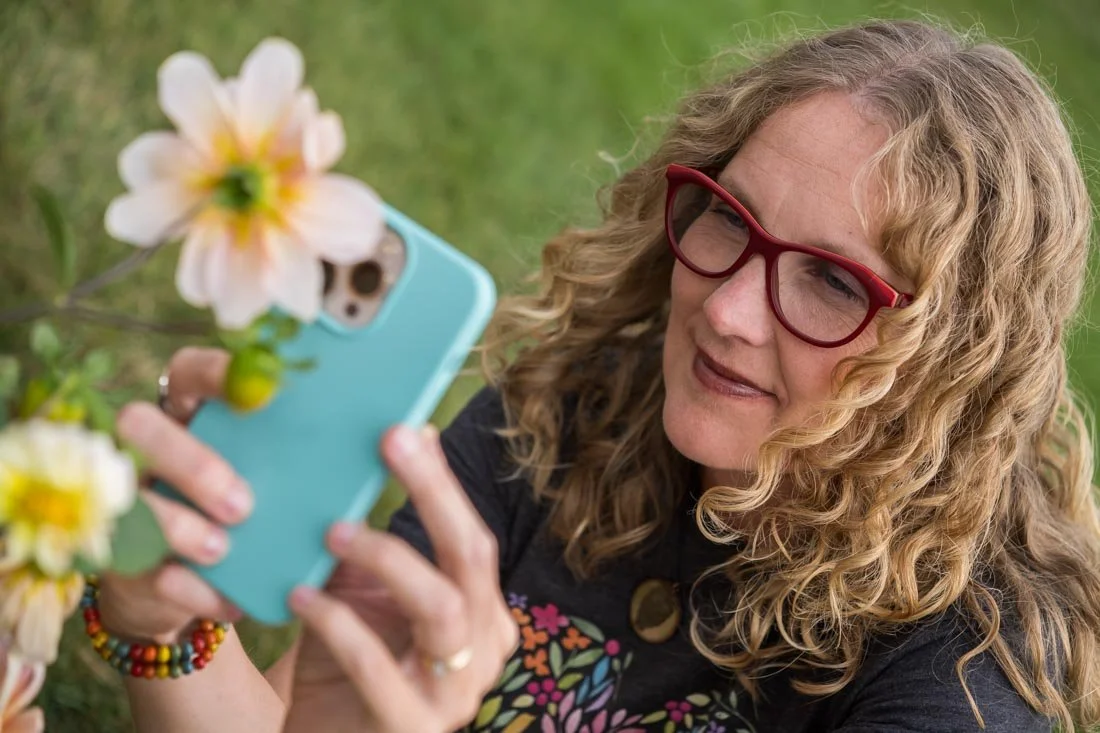
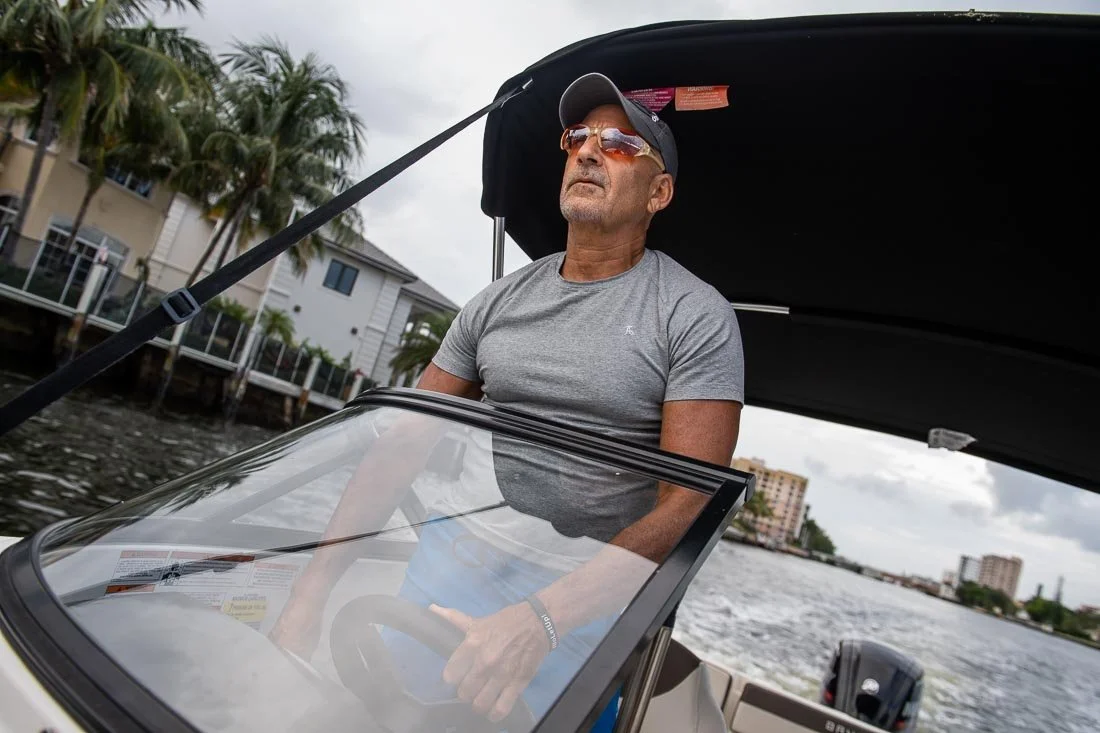
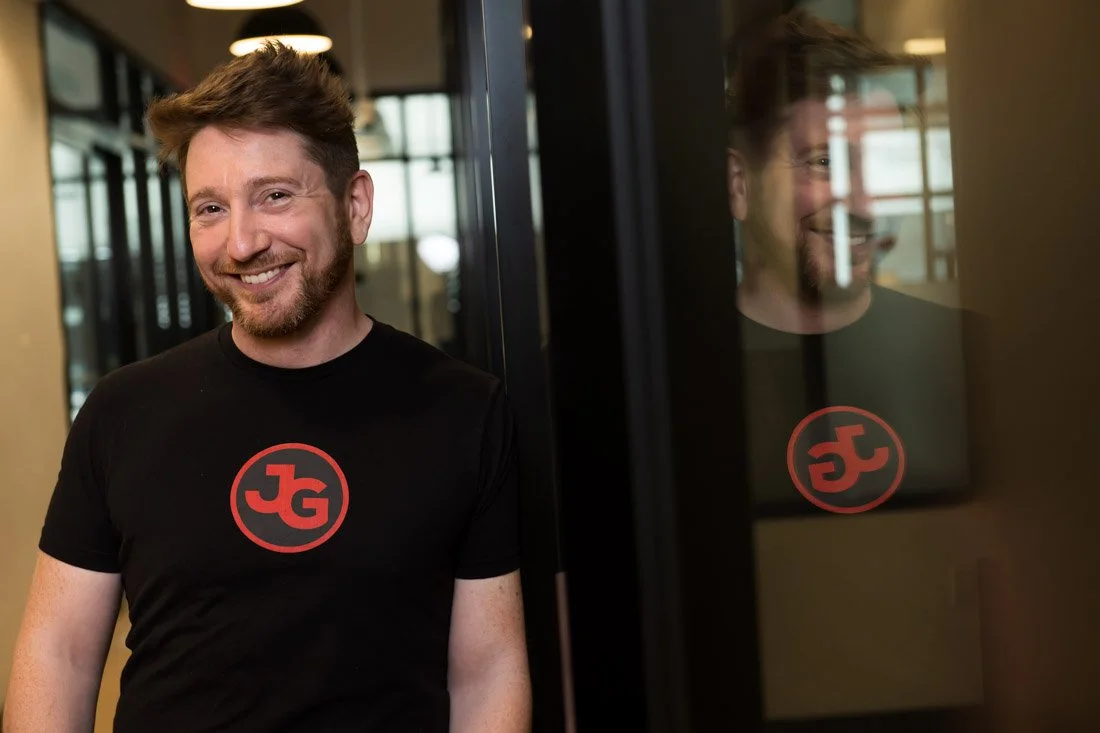
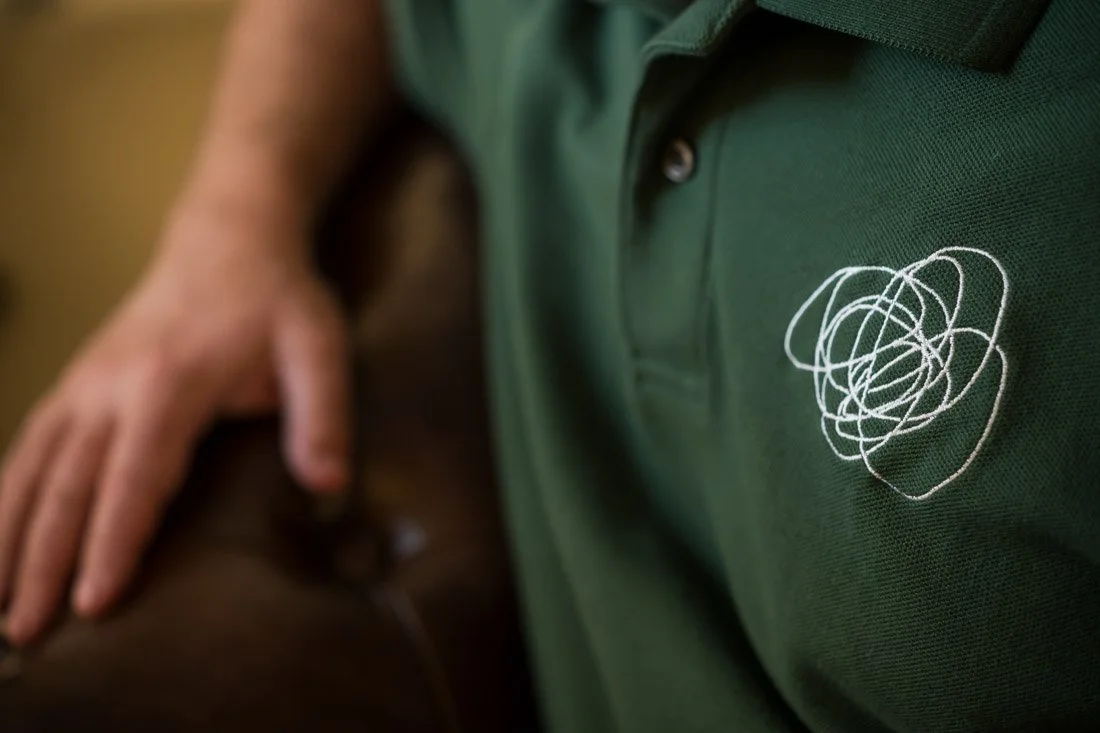
LIFESTYLE IMAGES
Lifestyle images capture candid moments that reflect the client’s personality and day-to-day life. These photos offer a glimpse into how the client works and lives, whether working alone or engaging in personal activities. The goal is to showcase a balanced blend — from working on a laptop to enjoying hobbies and spending time with family. These images help humanize the client, offering their audience a more relatable and personal view of who they are beyond their client-facing role.


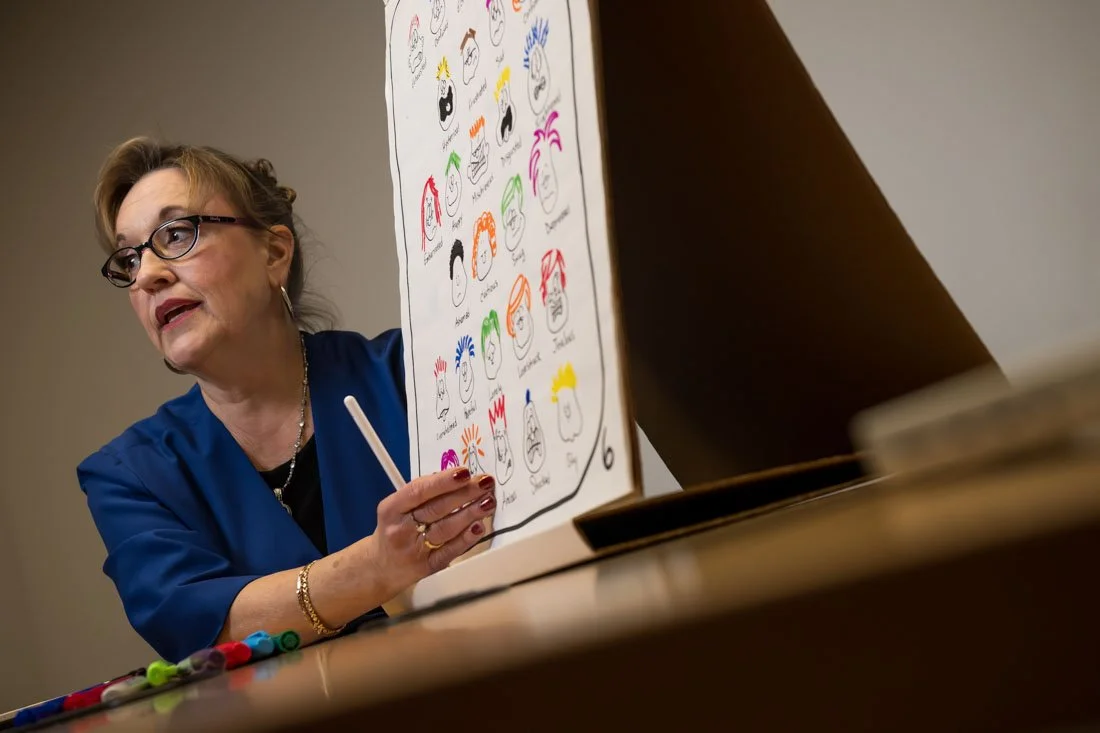

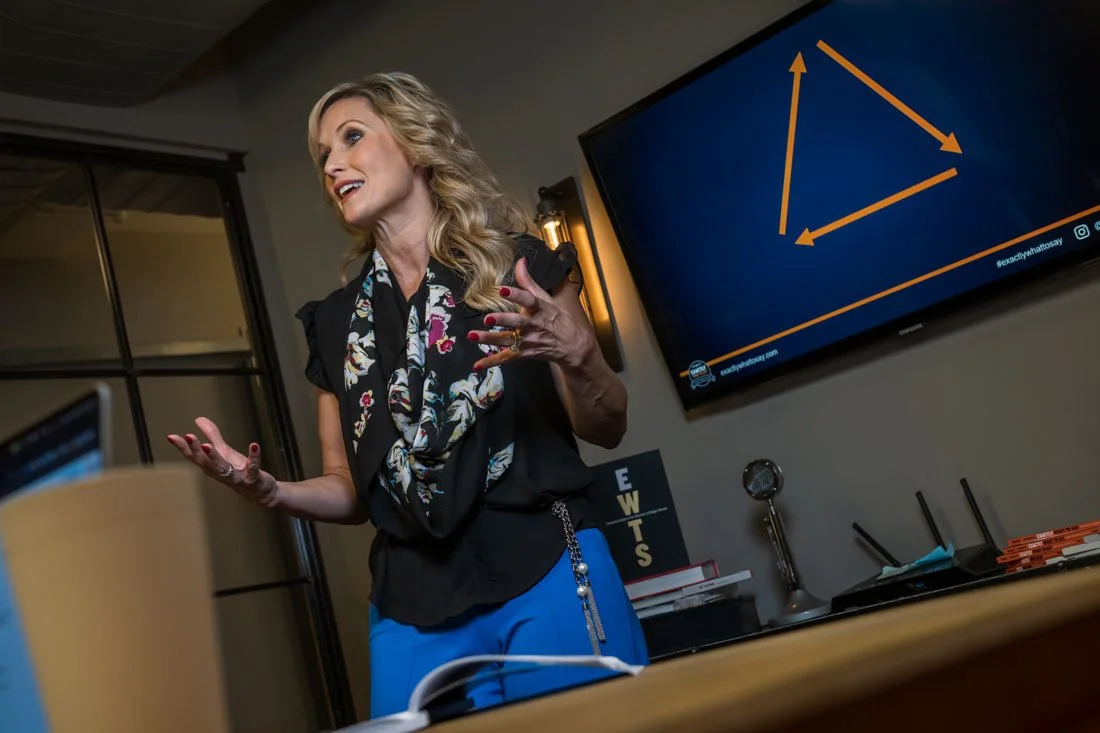

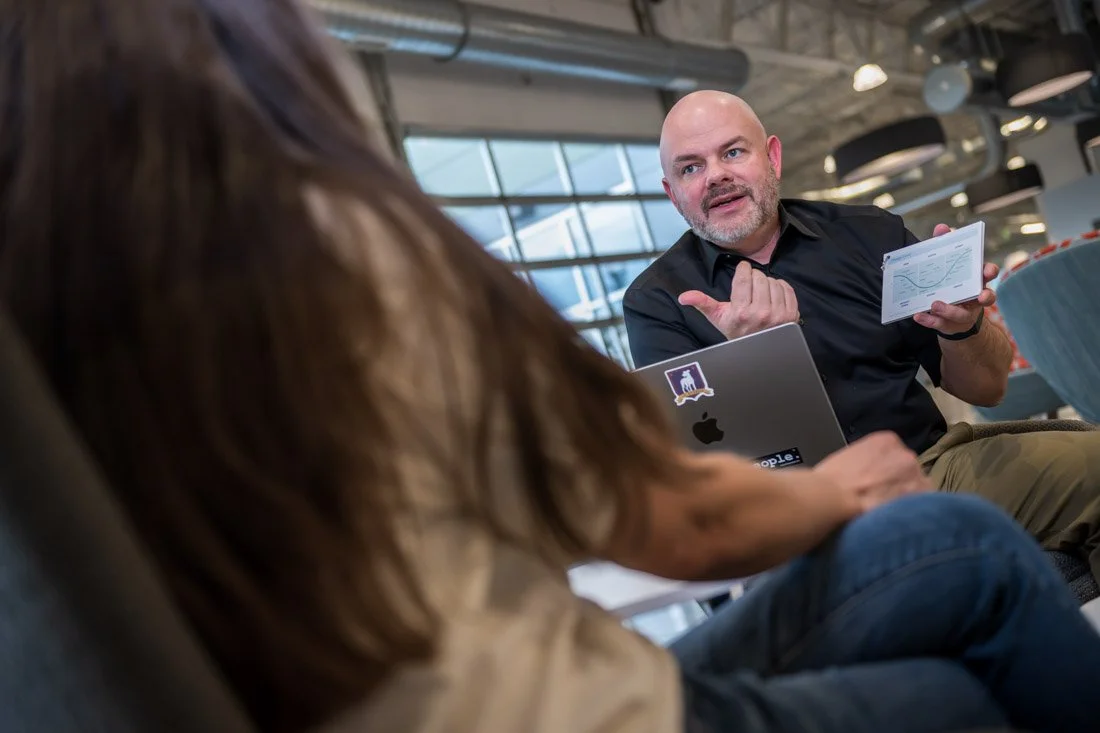
WORKING WITH OTHERS
These images reveal the client in action, whether they are presenting, facilitating, or consulting — in person and virtually. The goal is to capture the essence of their passion, expertise, leadership and communication skills, whether they’re standing at the front of a room delivering a presentation, guiding a team through a workshop, or engaging in a one-on-one consultation. It’s important to highlight their ability to connect with others, showing moments of interaction, teaching, and collaboration. This offers their audience a glimpse into how the sausage is made.

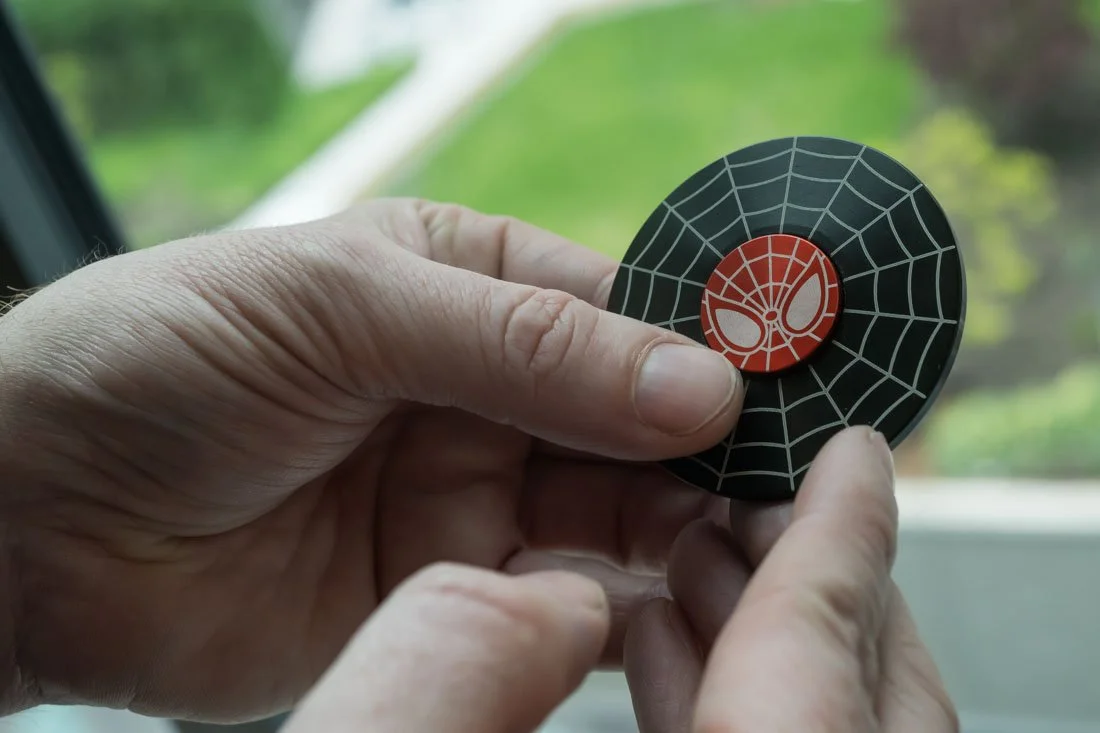

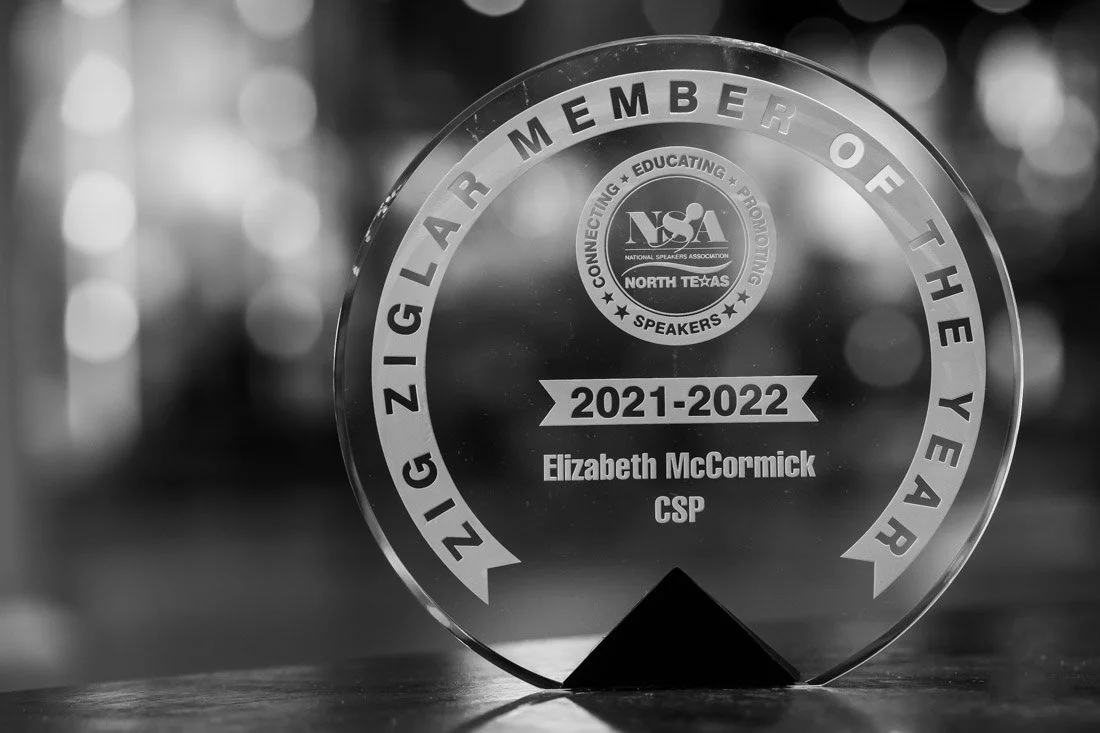

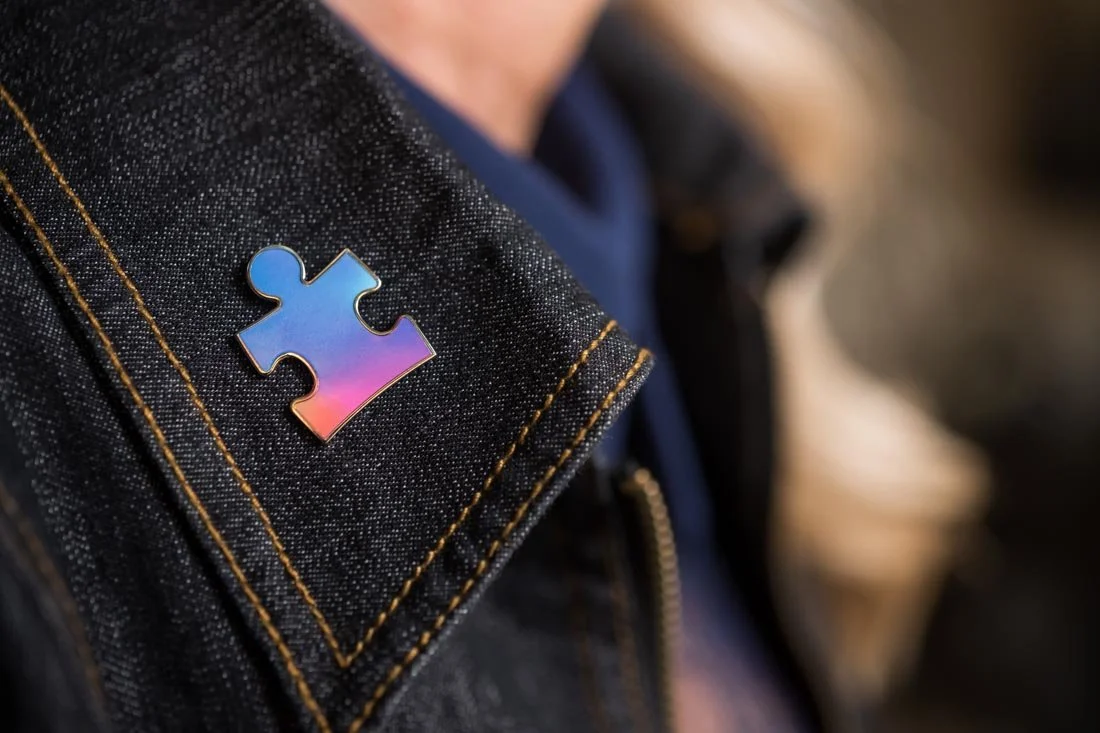
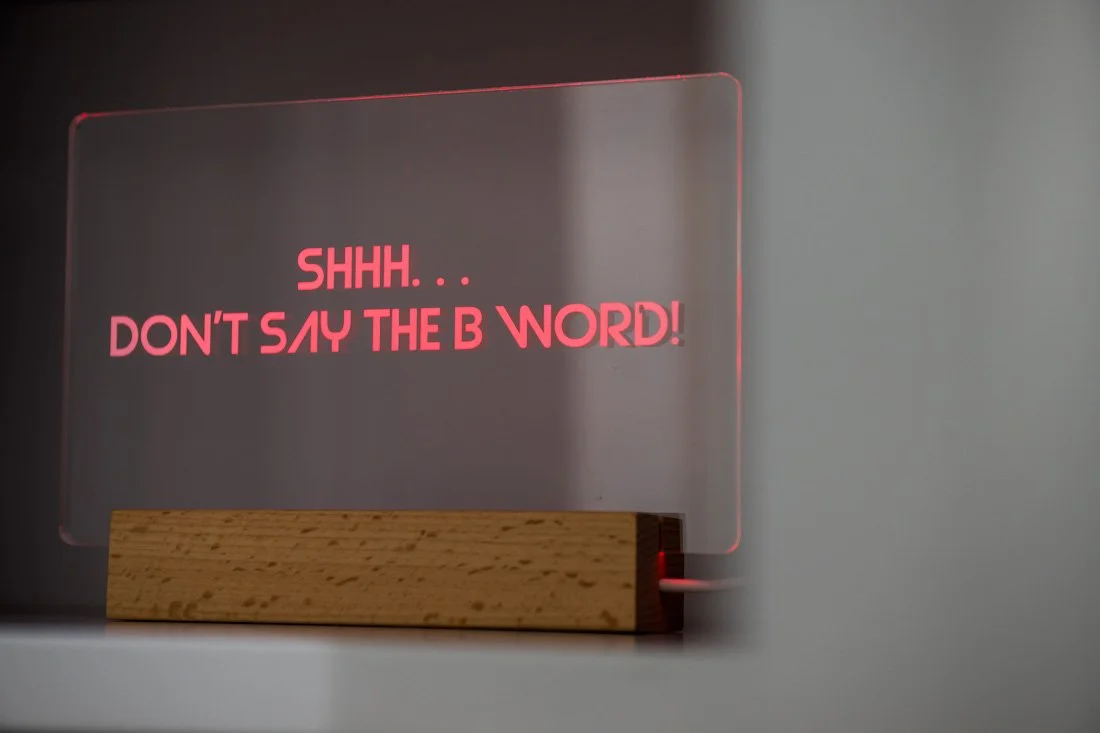
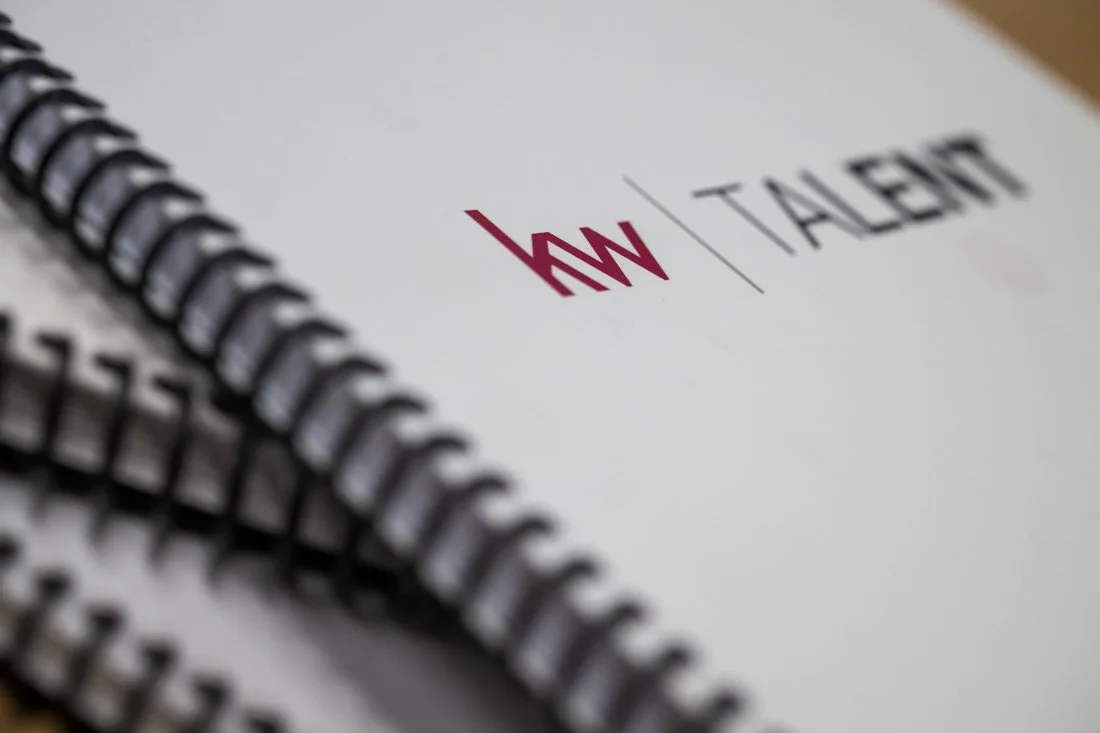
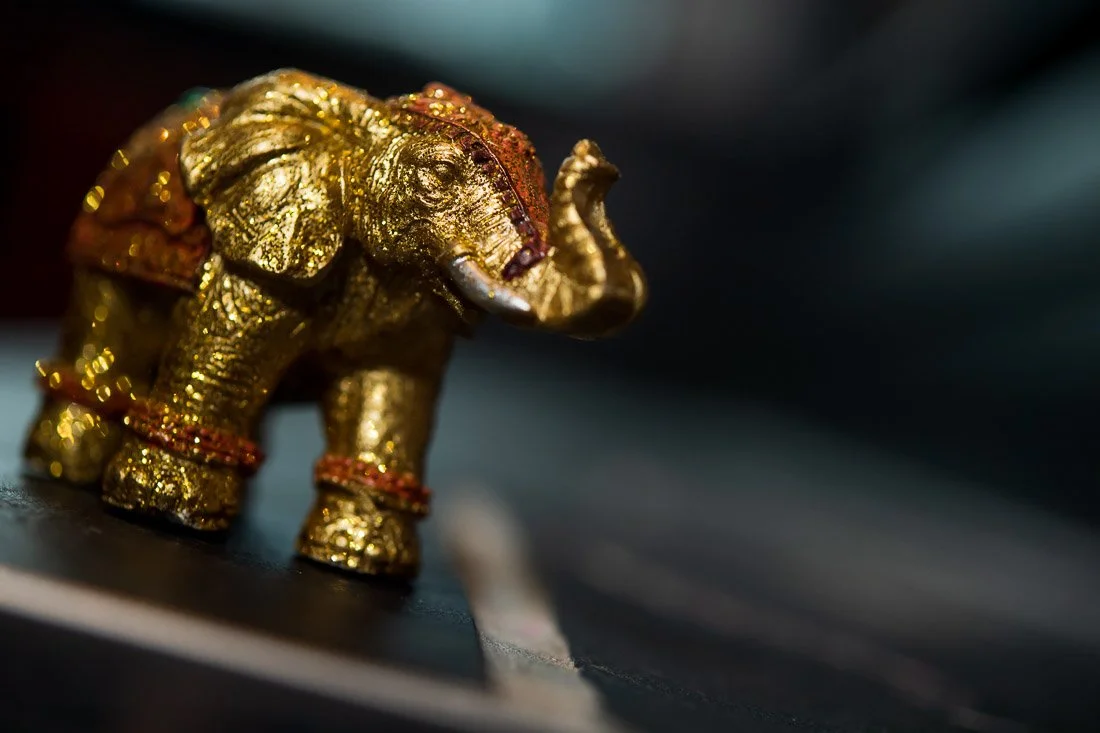
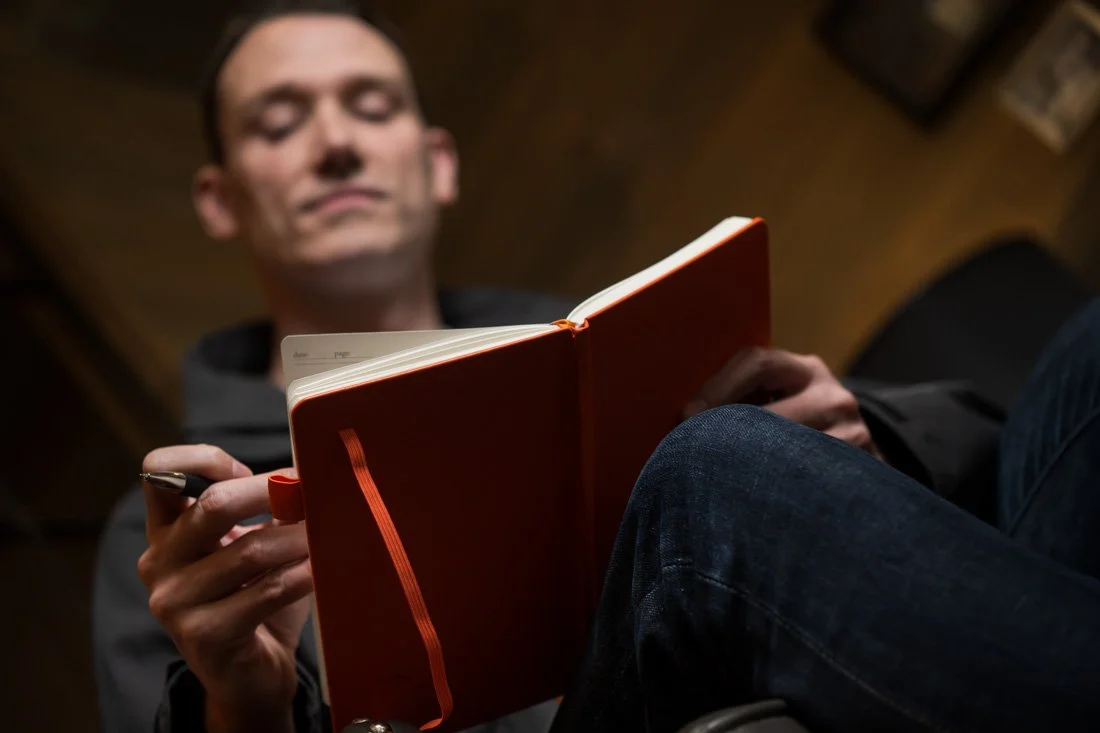
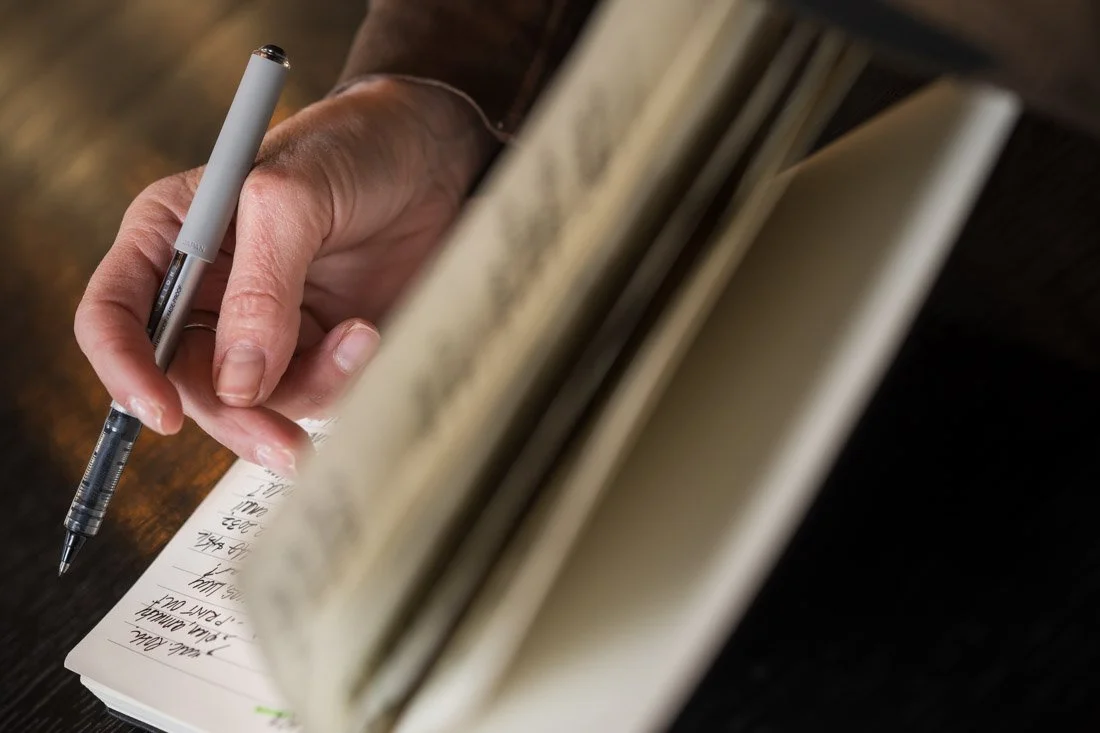
OTHER IMPORTANT IMAGES
These visual assets focus on showcasing objects and details that add meaningful context to the client’s expertise and personality, whether in a literal or metaphorical sense. This could include tools of their trade—books, manuals, branded materials, or digital assets—or personal items that reflect their values, passions or achievements. Capturing these objects helps to build a more complete narrative around the client’s story, subtly reinforcing their brand or giving insight into what drives them.
For more examples of branding session photos, go here.
How do you create these photos?
BEFORE THE SESSION
1. Strategy & Shot List: Discuss strategy and review the shot list with the Agency and client.
2. Venue Approval: Confirm with venue staff that it’s acceptable to shoot in the space.
3. Review the Location: Collaborate with the Agency to strategize how to leverage the space effectively by researching the space online in photos and video.
4. Gear Check: Double-check your equipment, ensuring you have backups prepared, such as lenses, batteries, chargers, camera bodies and lighting essentials.
5. Logistics: Ensure all logistical details are accounted for, including travel arrangements, timing and access to the venue.
6. Schedule Post-Session Review: Block time in your calendar right after the session is booked for a review call with the Agency and to work on delivering the photos.
DAY OF THE SESSION
General Guidelines:
1. Arrive Early: Take extra time to walk the play space with the shot list in hand.
2. Work with a Sense of Urgency: Move efficiently - and motivate your client to do the same - while maintaining a consistent attention to detail.
3. Put on Blinders: Eliminate outside distractions and stay focused on the goals of the session.
4. Selective Amnesia: Let go of missed shots, unforeseen obstacles or other breaks in rhythm to stay present and focused to get back on track.
5. Be Curious and Open: Throughout the session, explore different possibilities within the space, and be willing to experiment in order to create more visual variety.
6. Get it right - or Close Enough - In Camera: Frame your shots intentionally to reduce the need for excessive post-production corrections.
7. Unquenchable Thirst For Better: Challenge yourself to never be satisfied with what you’ve captured - aim to one-up yourself until the session is over.
Logistics:
1. Establish a Home Base: Find an easy-to-access area in the venue to store clients’ outfits and props, and your equipment so you’re not carrying everything everywhere, which wastes time and effort.
2. Visualize the Play Spaces: Don’t see the space as a whole, but rather, for the sum of its parts. Isolate the space into independent areas where the client can stand, sit, work, and reflect.
3. Avoid Heavy Traffic Areas: If shooting in a public venue, find the quiet nooks and crannies in order to avoid having to constantly stop down or sacrifice composition to frame out other people from the space.
4. Changing Areas: Ensure changing areas are close to shooting spaces to minimize downtime in between shooting scenarios.
Lighting:
1. Off-Camera Flash with Modifier: Use a battery-powered unit with a 2-foot Octa and grid for controlled, focused lighting that is easy to move within the venue.
2. On-Camera Flash with Diffusion: Use as a backup when off-camera flash isn’t an option based on space limitations.
3. The Objective: Combine your light with ambient light in the room to create a mixture of flat, punchy and shadowy portraits to evoke different emotions and provide the client a wealth of options from which to choose.
Lens Selection:
1. Headshots: Use an 85mm or tighter focal length.
2. Wider Portraits & Lifestyle Shots: Use a 24-70mm lens or equivalent focal length.
3. Long Zoom: Use a 70-200mm lens or equivalent focal length.
4. Macro: A 60mm macro or equivalent focal length is ideal for capturing finer details.
Directing the Client:
1. Warm Up with Headshots: Start with headshots to help the client relax and get used to you, the camera and the way you communicate with them.
2. “Confidence Mirror”: Point your cameraphone at them before each shot to gain confidence because they know exactly what they look like in front of the camera.
3. No Posing Allowed: Direct the client to NATURALLY position themselves first, and then, make adjustments to optimize their body language for the camera.
4. Spot Check Photos with the Client: Throughout the session, show them photos on the back of the camera to keep them engaged, invested and excited for the results. Be sure to share photos that you like in order to convey that excitement to them.
5. Inspire Unique Expressions: Use the client’s own words and personality expressed during the strategy call to inspire expression changes that provide genuine results.
6. Constant direction: In addition to constantly optimizing their body language and facial expressions, maintain an active conversation with them during the session. When necessary, be their cheerleader, shoulder to cry on, or motivational kick in the ass. The goal is to keep them out of their heads and in the present moment.
Visual Variety:
1. 180-360-degree view: Explore the client sitting, standing, working and thinking from a full-scope view in order to identify a variety of vantage points to create unique candid portraits.
2. Find a Spot, Work a Spot: One you identify a vantage point that looks good, capture wide, medium, and close-up variations from the same location before moving on.
3. Use the Space: Incorporate furniture and objects - chairs, walls, tables, staircases, desks - into the creation of unique compositions.
4. Use People: If others are involved in the session, use backs of heads, hands, and other details to add unique compositional elements to the images and bring more attention to your client.
5. Use Objects: Integrate objects - laptops, water bottles, window treatments, decor elements - in the space to create additional, unique compositions to your client’s portfolio.
6. Outfit Changes: Be strategic about the clothing your clients are wearing. Have them add or remove layers - jackets, scarves, ties, jewelry - to add another layer of visual variety to their portfolios. But, be sure that these additions and subtractions are genuine to the way they present themselves in front of their audiences before making the suggestions.
AFTER THE SESSION
1. Backup Your Photos: Immediately back up your photos before leaving the location.
2. Post-Production - 3 Passes:
Pass 1: Cull and initial editing during review call with the Agency
Pass 2: Once given ample direction from the agency, color and crop the selects
Pass 3: Final color and crop and a fine-tuned cull pass
3. Don’t over bake your photos: Keep edits subtle to enhance the natural look of the event without altering its authenticity—focus on adjustments that bring out the best in the images while maintaining their true essence.
4. Export Settings:
Low Resolution: 1100x733 pixels
High Resolution: 72 dpi, 100% quality